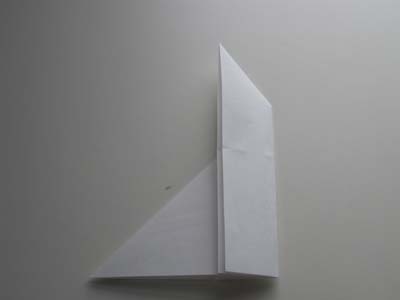
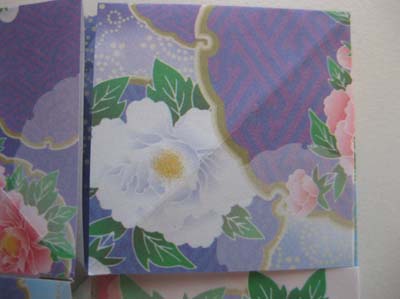
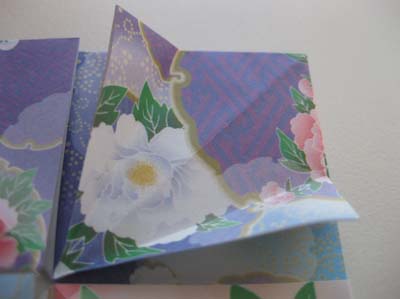
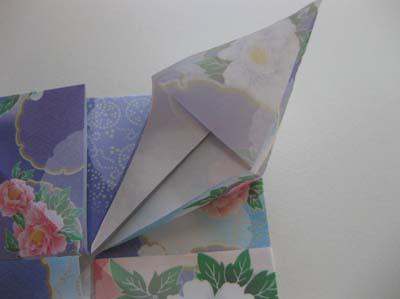
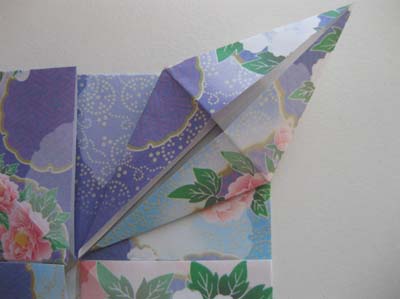
Origami Petal Fold Step 1: To even get started on the petal fold, you'd generally have to make a
series of
folds already to get to something that looks like this. If you'd like to just practice, you can fold a
square base first.
Origami Petal Fold Step 2: You really only need 3 creases to make a petalfold.
First, fold the right and left sides to the center crease.
Crease well then unfold.
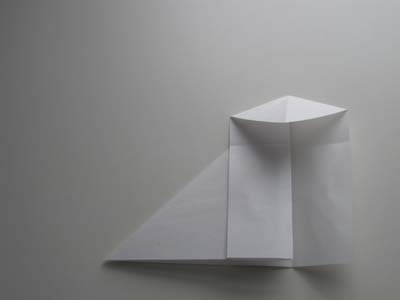
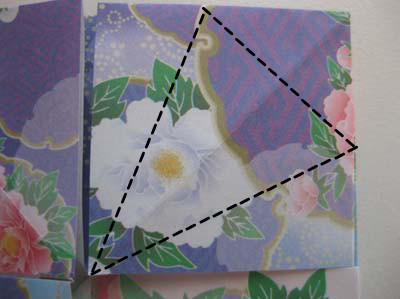
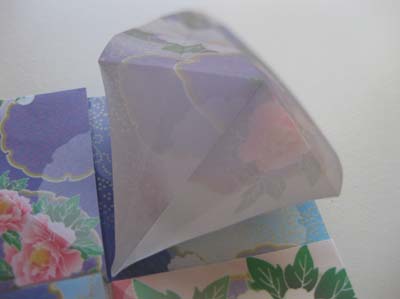
Origami Petal Fold Step 3: To make that 3rd crease, pry open the paper.
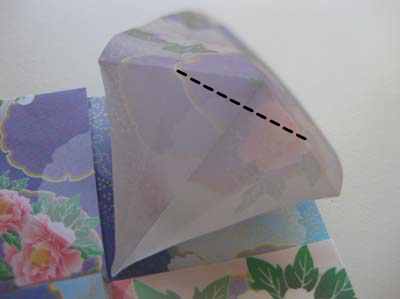
The 3rd crease needs to join up with the other 2 creases. If you've creased well in Step 2, then you should be able to see the other 2 creases easily. If not, just go back to Step 2 and crease better.
Origami Petal Fold Step 4: So crease the top flap of the paper down so that the crease joins up with the other two.
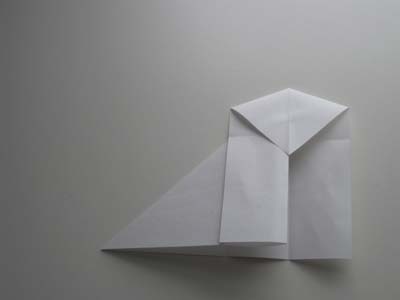
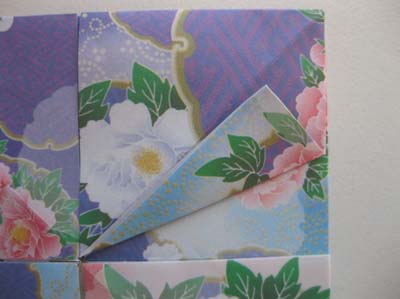
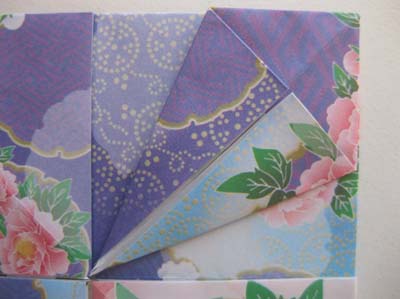
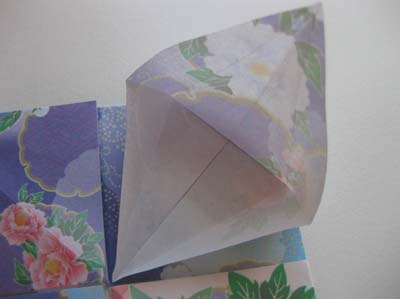
Origami Petal Fold Step 5: Now, we're going to bring the 2 sides of the paper back to meet in the center. It will help if you re-crease or pinch the creases.
And that is the origami petal fold.
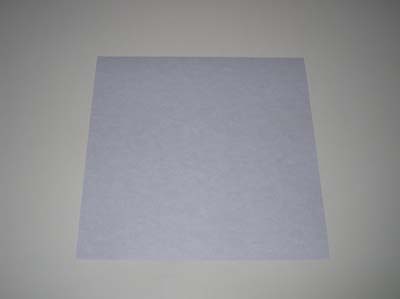
Origami Book Fold Step 1: Start with a square origami paper.
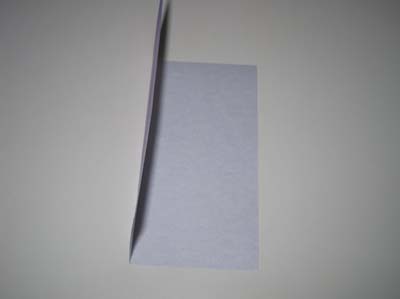
Origami Book Fold Step 2: Fold from left to right, crease well and you get a book fold.
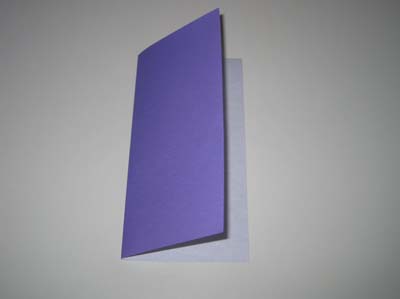
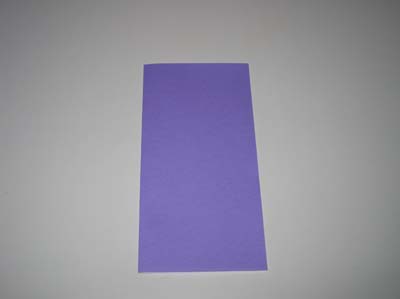
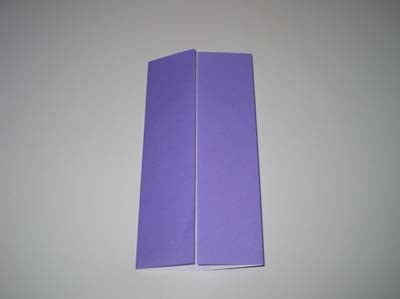
Origami Cupboard Fold Step 1: Make a book fold and unfold the paper.
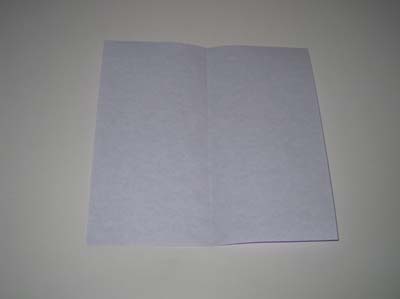
Origami Cupboard Fold Step 2: Fold the right side to meet the crease in the
center.
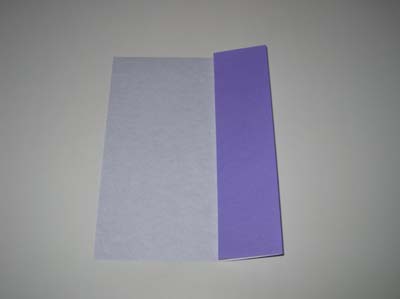
Origami Cupboard Fold Step 3: Fold the
left side to meet the crease in thecenter and you get your cupboard fold. It looks like a cupboard with 2
doors, right?
What is a squash fold? Basically, it is when you pry open the paper slightly, then press and flatten the paper to make the fold.
Below are pictures of squash
folds that for some of the origami models on this site.
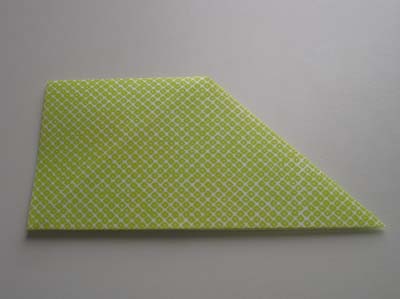
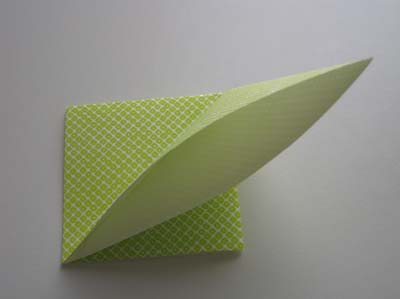
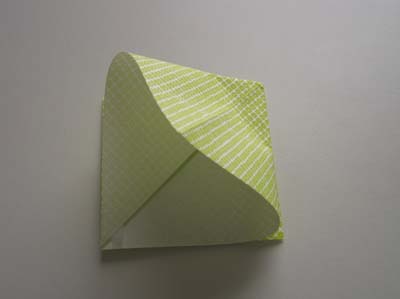
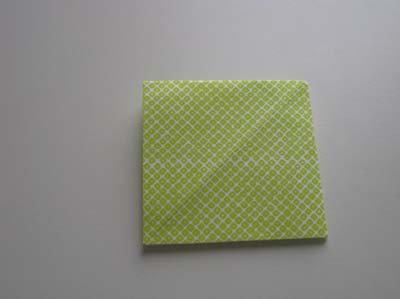
Squash Fold Example 1: This is an example from making a
square base. Wefold the large triangle in half, then bring the flap back to the right. Pry open the paper then squash or flatten it down.
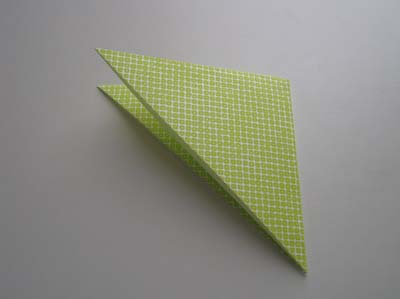
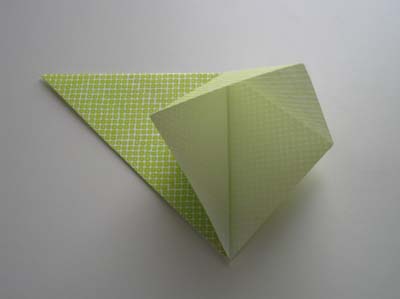
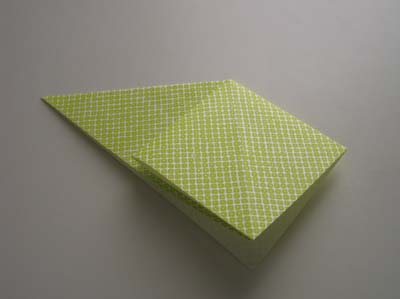
Flip paper over. Bring flap from right to left, open it slightly, press and flatten.
Origami Squash Fold Example 2: This was from making a
waterbomb base.
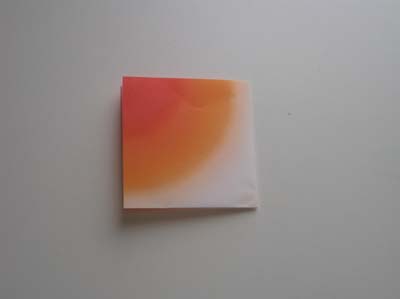
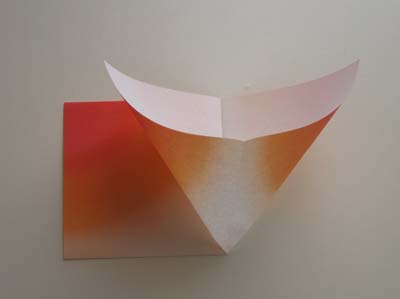
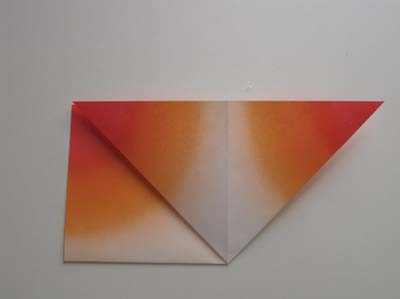
Here you have a small square. Bring
the top flap over, pry open paper and flatten to make a squash fold.
Squash Fold Example 3: This was from an
easy origami frog. Here we start off with a triangle or diaper fold. Bring right side to the
center crease, pry open the paper then squash it down. Notice that this is not a symmetrical squashfold.
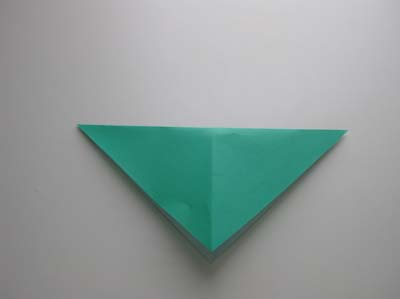

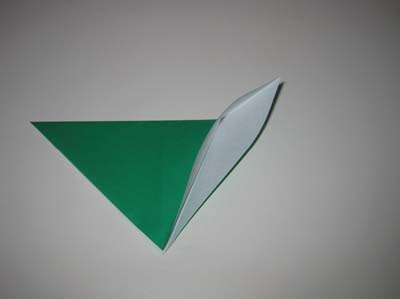
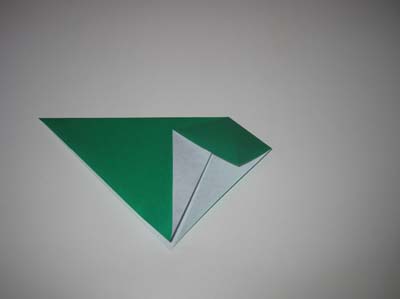
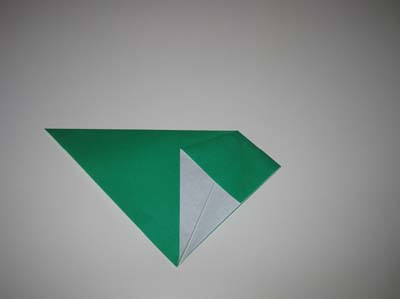
Origami Squash Fold Example 4: This is a great example from the
origami star box. Here we fold the top flap over to the center crease, then pry open the paper and press it down to form the squash fold.
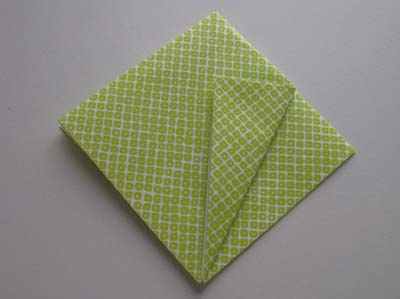
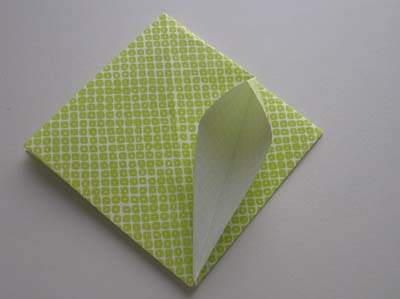
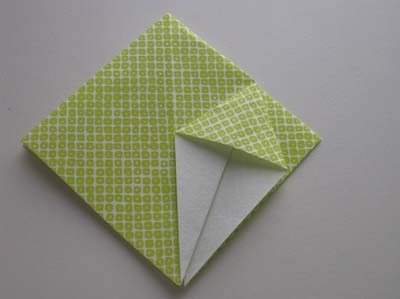
Origami Squash Fold Example 5: Finally, this was from an
easy origami polar bear. We fold about 1 inch of the paper to the left, crease, then bring it back slightly, open the paper and press down the paper to form the squashfold.
Hope all these photos help!
